


Netting and Right Angle Weave
 Busy, busy week and weekend! I'm starting to think this is the norm for the next while. It doesn't help that my time management skills stink. I feel like I'm constantly rushing to go here or do this or that.
 Aside from squeezing in some beading for a couple of orders and trying to figure out what I did with my tutorial photos last year (deleted them, of course), we had my oldest children's baptisms on Saturday, had a new calling at church, did some cake and cupcake orders at work, and of course, the regular weekly activities, etc...
BUT amidst the chaos about midweek, I got home and had the best surprise waiting for me!

Thank you, Beadiful!!
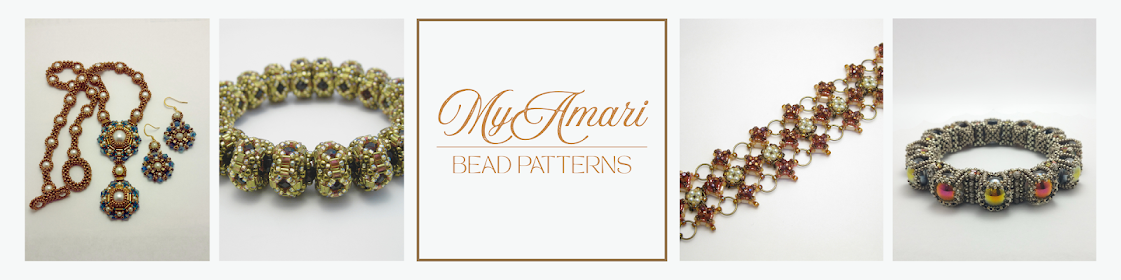
Anyway, here's another pattern from 2012 that I was able to get back together. These earrings were made to match the Be Jeweled bracelet and are very simple and quick to make.
Click to download a PDF copy of this pattern.
What you will need to make these 2” long earrings:
I have put
in parenthesis how I will refer to the beads in the tutorial.
-12
of 3MM Czech Fire Polished Beads, Emerald (3MM)
-18
of 4MM bi-cone crystal or glass beads, Emerald (4MM bi-cone)
-16
of 4MM glass pearl beads or similar, Steel Grey or Dark Grey (4MM pearl)
-1/2
grams size 11/0 Miyuki Transparent Grey Silver-lined #21 (Grey 11/0)
-1/2
grams size 15/0 Miyuki Silver-Lined Crystal #1(Silver 15/0)
-2
earring components/findings. I used hooks.
-FireLine
(or thread and wax), size 12 beading needle, scissors
 |
| 1a |
 |
| 1b |
2. Working
clockwise, bring your needle through the next 3MM fire polish to the right,
skipping the grey 11/0 in between the 3MM fire polish beads.
 |
| 2 |
3. Bring your needle through the next 3MM to the right, skipping the grey 11/0. Try to pick out the 11/0s with your needle as you work so they pucker out a little and keep your thread somewhat snug.
 |
| 3 |
4. Repeat
Step 3 for the last two 3MM fire polish beads, picking out the 11/0s with your
needle or fingers as you go and pull your thread so they stick out. Your thread
should be positioned out of the 3MM you started with.
 |
| 4 |
5. Pick up beads in the order: silver 15/0, 4MM bi-cone, silver 15/0, 4MM pearl, silver 15/0, 4MM bi-cone and silver 15/0. Bring your needle through the next 3MM to the right, skipping the grey 11/0 in between the 3MM fire polish beads.
 |
| 5 |
6.
Repeat Step 5 by picking up beads in this order: silver 15/0, 4MM bi-cone,
silver 15/0, 4MM pearl, silver 15/0, 4MM bi-cone and silver 15/0. Bring your
needle through the next 3MM to the right, skipping the grey 11/0.
 |
| 6 |
7. Continue to repeat Step 5
for the next two 3MM fire polish beads.
 |
| 7a |
 |
| 7b |
8.
With your thread positioned back through same first 3MM bead as in Step 4, weave
through the first corner by bringing your needle through the silver 15/0, 4MM
bi-cone and silver 15/0 to the immediate left of where your thread is coming
from.
 |
| 8 |
9. Pass through the 4MM pearl.
 |
| 9 |
10. Continue to weave through the corner by bringing
your needle down through the silver 15/0 and 4MM bi-cone to the immediate right
of the pearl you just came from, skipping the bottom silver 15/0. Your thread
should now be positioned out of the bottom of the 4MM bi-cone.
 |
| 10 |
11. Pick
up 1 grey 11/0 and bring your needle up through the bottom of the next right
4MM bi-cone and up through the silver 15/0 on top of the 4MM bi-cone. We will
now weave through this corner to add the next grey 11/0.
 |
| 11 |
12. Pass
through the 4MM pearl on this corner.
 |
| 12 |
13. Continue weaving through
the corner by bringing your needle down through the silver 15/0 and 4MM
bi-cone.
 |
| 13 |
14. Pick up 1 grey 11/0 and bring your needle up through the bottom of the next right 4MM bi-cone and up through the top silver 15/0. Now we will weave through this corner to add the next grey 11/0.
 |
| 14 |
15. Continue
to repeat Steps 12-14 for the last 2 grey 11/0s between the 4MM bi-cones (15a). Once
complete, your thread should be positioned out of the same first 4MM
bi-cone from Step 8 (15b).
 |
| 15a |
 |
| 15b |
 |
| 16 |
17. Continue to weave through
this corner by bringing your needle down through the silver 15/0 and 4MM
bi-cone.
 |
| 17 |
18. Pass through the grey 11/0
in between the 4MM bi-cones and up the right 4MM bi-cone, skipping the top
silver 15/0.
 |
| 18 |
19. Pick up beads in this
order: silver 15/0, 4MM pearl, grey 11/0, 4MM pearl and silver 15/0. Bring your
needle down through the top left 4MM bi-cone.
 |
| 19 |
20. Bring your needle back through the bottom
middle grey 11/0 and up the right 4MM bi-cone.
 |
| 20 |
21. Reinforce this loop by bringing your needle through all of the beads you just added and through the bi-cones and grey 11/0 below it. Weave back up and position your thread through the top grey 11/0 of the beads you just added in Step 19.
 |
| 21 |
22. Pick up beads in this
order: silver 15/0, 3MM fire polish, silver 15/0, 3MM fire polish, and silver
15/0. Bring your needle through the opposite side of the top middle grey 11/0
you added in Step 19. Reinforce this loop and position your needle out of the
top middle silver 15/0 between the 3MM fire polish beads.
 |
| 22 |
23. Pick up 6-7 silver 15/0s
and your earring finding. Bring your needle through the opposite side of the
silver 15/0 you started from in the previous step to add this top final loop.
Pass through all the beads you just added to reinforce.
 |
| 23 |
24. Reinforce
and straighten the top section by bringing your needle down through the 3MM
fire polish, silver 15/0s, 4MM pearl, and 4MM bi-cone on that side.
 |
| 24 |
25. Continue to reinforce and
straighten these beads by coming up the left 4MM bi-cone on bottom, then up the
silver 15/0, 4MM pearl, silver 15/0, and 3MM fire polish. Repeat twice if your
needle/beads will allow. If you
did not leave a 6-7 inch tail in the beginning, use the thread you are working
with now and weave down towards the bottom of the earring and work Step 26. If you did leave a 6-7 inch tail thread, weave
through your piece with your current thread, making a couple of half hitch
knots in the earring and cut your thread.
 |
| 25 |
26. I had to flip my piece to
get to the tail. Thread the 6-7 inch tail you left at the beginning. Weave your
needle through to the 4MM bi-cone, skipping the bottom silver 15/0.
 |
| 26 |
27. Pick up 1 silver 15/0, a 4MM pearl, 1 grey
11/0, a 4MM pearl, and a silver 15/0. Bring your needle up through the
4MM bi-cone on the opposite side. Pull your thread.
 |
| 27 |
28. Reinforce all beads by
bringing your needle through all of the beads you just added and the 4MM
bi-cones and grey 11/0 above them.
 |
| 28 |
29. Position your thread to
come out the very bottom grey 11/0 of the beads we just added in Step 27.
 |
| 29 |
30. Pick up 1 silver 15/0, a
4MM bi-cone and 1 grey 11/0. Skip over the grey 11/0 and bring your needle
through the 4MM bi-cone.
 |
| 30 |
31. Pick up 1 silver 15/0 and
pass through the middle grey 11/0 on the opposite side you started from in Step
29.
 |
| 31 |
32. Pass
through the silver 15/0s, 4MM bi-cone and tip grey 11/0 to reinforce and
straighten. *Note- you may need to use your fingers to straighten the end first
then reinforce beads. **Repeat Steps
1-32 for the second earring.
 |
| 32 |
Connect with me


No comments:
Post a Comment